I'm so close to victory now I can taste it! This model is huge, it's been an absolute monster to paint. The sheer amount of armour panels is astounding and I wouldn't be surprised to see it have the same number of components as a Warlord or something! Anyway, the guns are all I have left to do now, follow the pictures below for a visual journey picking up where I last left off.
 |
| SO. MUCH. ARMOUR! I did my spikes as per usual to make it feel a little more traitor and a bit more retro rogue trader style. All the panels were base coated in Gun Metal and preshaded with Dark Iron. |
 |
| Excuse the toes sorry! Mettalic blue is put down in thin coats. |
 |
| Going for a split scheme with dark blue and bone for House Makabius. The gun barrel sags because it's miscast and I am waiting for another. |
 |
| Quartered panels on the rear. Spoiler alert: I left these off, they obscure the hull detail too much and the rear is only AV12 anyway. |
 |
| Split panels galore, edged everything with dark copper. |
 |
| Starting to pop a bit more now I have the chassis primed black! |
 |
| Masking up the front of the torso for the dark copper, and hitting the backs of all the panels. |
 |
| Yeye, STRONG! |
 |
Dark Iron highlighted with the airbrush with
Gun Metal. |
 |
| I added some blue and purple filters to the chassis, I wanted it to have a really deep steel look. |
 |
| So many coffees were consumed at home while making this! Popped downstairs for a cheeky Siphon, V60, French Press and the good old AeroPress. |
 |
| My usual sponge chip wasn't going to cut it on these panels I very quickly realised. I've been cheating myself with that technique for a while so I decided to stop being a chump and step it up to some more complete weathering. |
 |
| I went with a red lid, and I might do the tips of the Magma Lascannon barrels to match, thoughts? |
 |
| So as I was saying.. More complete weathering. I fitted the Makabius details and merged them with the paint, I then applied oil filters to both the cream and the blue panels to bring them to a level I wanted and set the weathering with the paint. |
 |
| Something that hasn't changed, that red dust. |
 |
| Lower armour is now glued on and GtG. |
 |
| 9" Grinder blade with cork tile. I kinda wanted it to look like the Acastus is squashing the ground. I didn't nail it but the effect is ok. |
 |
| With such a busy model I have kept the base kinda simple. |
 |
| Proof of life. Cutting wheel for metal. Acastus is the most metal thing in 30k. |
 |
| Razzle dazzle. Tried some rust effects, not a great photo of it but I wanted it to look like the manifolds had rusted from the heat cycling. Shitty Mechanicum fitting mild steel manifolds. |
 |
| Lower half of the torso is done save for the lens on the head. |
 |
| Upper torso done now too. I'm not a fan of the open missile rack and have happily glued it shut. I figure it would be a snap it open and fire a rocket, then close it type of deal, One lascannon round into a warhead and it's cooked m8. |
 |
| Really proud of how it's coming out. A few style choices, rusty manifolds. the hues to the metal work. The panel splits. I did the main leg rams in the same colour as the Makabius blue as a bit of a nod to mining machines. |
 |
| I'm leaving the back armour off. I like all the workings underneath to cover it up. |
 |
| So staunch on the move! |
 |
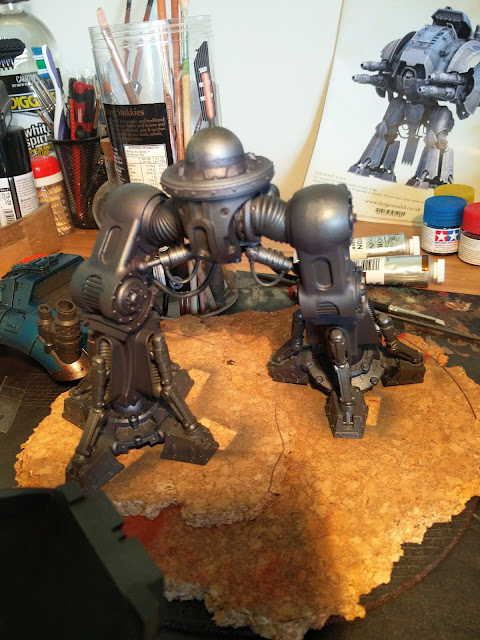
| Next to the wee baby Levi. |
 |
| The guns are only base coated, I will finish them in the morning tomorrow and post up some studio shots. I've never painted a model this well. I have never been as thorough with the weathering or the decal work. Shit, even the base paint job and the chassis. I think I'm up to at least 50hrs so far and I'm so stoked with the time spent on this show piece. |
So that's it so far! It's as huge a model as it is a task but I'm so glad I pulled the pin on getting one. These are all shitty cellphone pics so I'm excited to capture how it looks in the real tomorrow with my good camera.
Check back tomorrow for the completed shots.
Jackie


No comments:
Post a Comment